![]()
![]()
![]()
![]()
Set Up the Rubber
Once the secondary work template has been made, the last thing that happens in the normal loading of the RD-D program is the appearance of the picture:-
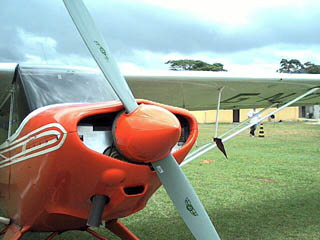
- and the control panel:
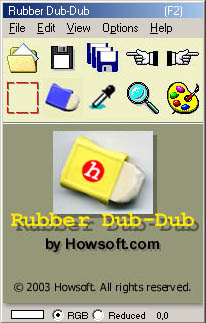
Later, the functions of this control panel will be described in detail. For now, it suffices to say that the program is automatically prepared to erase all hues or pixels it finds in our picture. However, we need to decide what hue is going to substitute the original hues, and what tool we are going to use. For the sake of mere exercise, these choices are merely arbitrary, so we'll use the rubber tool to change all the hues to blue. First, click the rubber tool button:
![]()
The display will change to the one shown above. We see at the top, on the right, that it is the "Hue (H)" that is going to be "Erase"d (see the option). Now do 3 things:
1) Drag the "H" slider to the right. As you do this, you will see that the substitute colour we are choosing changes in the narrow upright box on the left. Keep going until it shows blue. (If you cannot get exactly the number you want by dragging the slider, use the left/right arrow keys on your keyboard.)
2) Click on the first check box on the right hand side to show that this value of hue is going to be utilized as a substitute.
3) Choose the rubber size you find convenient. Since you are going to rub out pixels indiscriminately, you might as well choose the biggest:

Finally, you are ready to rub!
All you have to do is to click on the picture to start the rubber, and then move the rubber around to substitute the hue of the pixels under it for blue. When you want to stop, just click on the picture again.
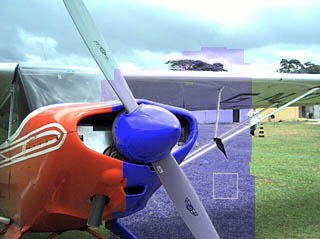
Congratulations! You have "rubber dub-dubbed" your first picture!